The program is intended for 2D to 3D conversion. The program converts a flat image to several stereo viewpoints, that are used for lenticular image creating. Two viewpoints are used for creating one anaglyph image.
2D to 3D conversion is done, as a rule, in the Photoshop program: the scene is divided on layers, front and back plans are neatly sliced, moved, deformed, drived one to another, drew, etc. This procedure is complex and requires a good knowledge of Photoshop. It's impossible to create a fully automatical 2D to 3D conversion program. 2D to 3D conversion is always a combination of manual and automatical labour. The Bas-relief program may simplify the process of 3D lenticular image creating basing on a flat image.
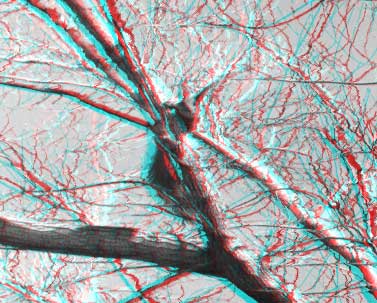
When looking at the 2D photo, we condider the darkest areas as the most distant, and the brightest ones as closest to us. This brings us to idea of creating the program, which shifts picture's areas depending on their luminosity, thereby creating few 3D viewpoints. The program opens two images: one is a coloured flat image, the other is its depth map, which shows us what areas are closer to us, and what are more distant. The white area is located at the foreground, the black one is at the background. Thereby, the general task is the acceptable depth map creating.
Certainly, the quality of 3D viewpoints created by Bas-relief, can't contend with the quality of 3D viewpoints made by a 3D camera or 3D Studio Max. As we can't see the dark side of the moon we can't see a hidden side of an object the object to other side Bas-relief. So our program is called Bas-relief, in analogy with a bas-relief.
Windows 98/NT4/2000/XP.
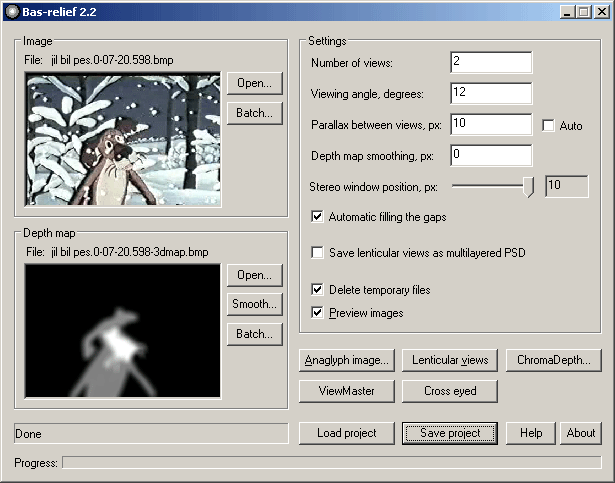
Fig. 1. Program interface
We load two images: one is a coloured flat image(Image), another is its depth map created by a special way (depth map). Source flat images must be in Greyscale, RGB, CMYK, RGBA (RGB with alpha-channel) colour mode, depth map - Greyscale and RGB. The program reads the files in BMP, PNG, TIFF, JPEG, PSD (better one layer only) format, and writes in TIFF.
Besides you can save lenticular views as multilayered PSD file. If you load the TIFF image in RGBA (RGB with alpha-channel), you get the RGB PSD layers with opacity. Check on Save lenticular views as multilayered PSD.
 | 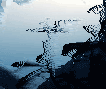 |
Fig. 2. Depth map smoothing = 0
 |  |
Fig. 3. Depth map smoothing = 3
When choosing Preview anaglyph image Bas-relief will show the resulting image using the viewer.
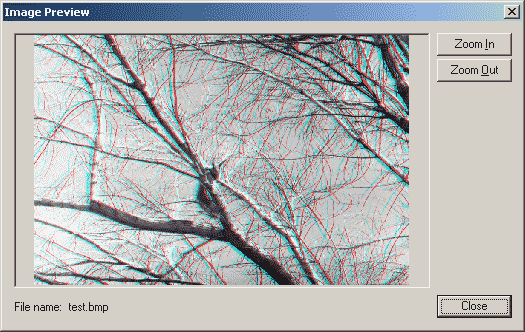
Click on the button Anaglyph image to create anaglyph image.
Click on the button ViewMaster to create ViewMaster stereo pair or for parallel eyed viewing.
Click on the button Cross eyed is for cross eyed viewing.
Click on the button Lenticular viewpoints to create viewpoints for lenticular image. Name the file, and the program will create names for all the sequence using your base name and a number, e. g.: file1.bmp, file2.bmp, file3.bmp etc. File1.bmp corresponds to the left eye image.
Click the button ChromaDepth to create ChromaDepth image. You need ChromaDepth glasses to see this images. You can buy it here www.chromatek.com.

Fig.4. ChromaDepth image
ChromaDepth front colour - changes the colour of the foreground:

Fig.5. ChromaDepth image with different front colour
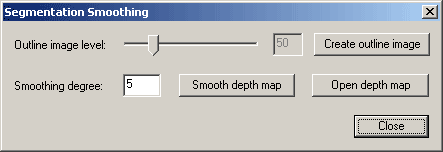
Fig. 6. Smoothing dialogue interface
This dialogue is intended for smoothing of the depth map. A custom algorithm
is used here, that doesn't blur the image's outline. In the beginning one needs
to create an outline image, setting necessary outline level (Outline image
level). Lower values of the outline level mean that lighter outlines
will be emphasized:
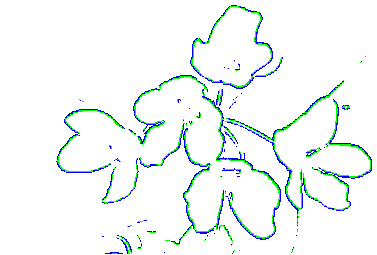 | 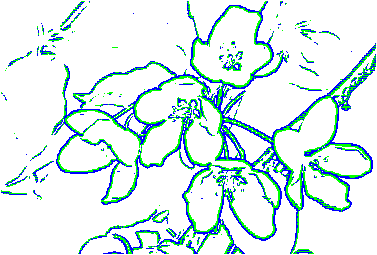 |
| outline level = 50 | outline level = 20 |
Fig. 7. Outline images
Buttons Smooth depth map smooth
the depth maps. Before you need to set the Smoothing degree. Newly created files have a suffix
New in their names.
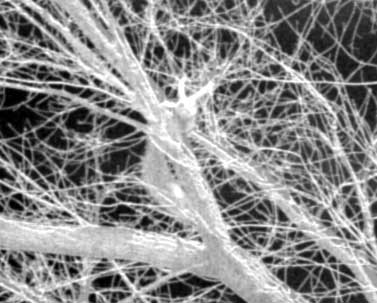 | 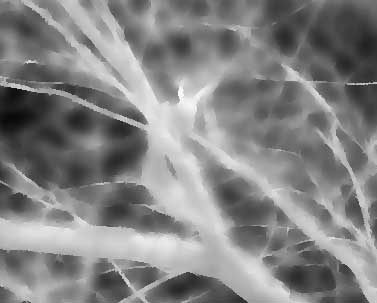 |
| depth map before smoothing | depth map after smoothing |
Fig. 8. Smoothing without outline
blurring. Smooth level = 50
Button Open depth map open new depth map instead old. Look at two anaglyphical images before and after smoothing:
 |  |
| before smoothing | after smoothing |
Fig.9. Anaglyphical images before and after smoothing
For the bath processing use the Batch buttons. Click Batch and choose the folder with 2D and depth map images. The filenames of 2D images are the same as the filenames of depth maps. The file extensions may be different. For example:
../singl-image/
file1.jpg
file2.jpg
file3.jpg
file4.jpg
file5.jpg
file6.jpg
Name of depth map images:
../depth-maps/
file1.bmp
file2.jpg
file3.tif
file4.bmp
file5.png
file6.bmp
Then you choose the basename, and program creates the sequence of files: sample0001.bmp, sample0002.bmp, sample0003.bmp, sample0004.bmp etc.
Before you begin, you need to create the depth map for the flat coloured image.
 |  |
Fig. 10. depth map image sample
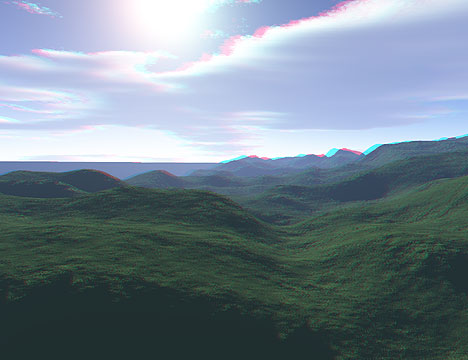
For a landscape (to the left) the depth map (to the right) has been created as follows: the image was desaturated, then inverted, then "autocontrasted". We have got the depth map: the front hills have white colour and, consequently, will be situated on foregrounds; the sky have a dark colour and will be put on background. Look at the anaglyph images with different parallax between front and back plans:
 |
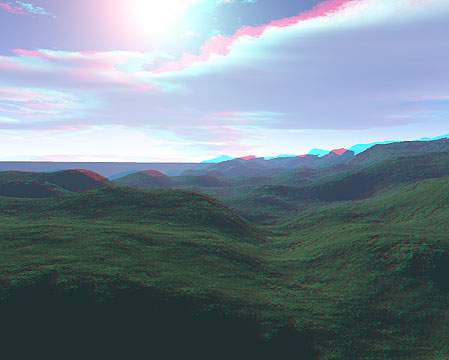 |
Fig. 11. Anaglyph images with different parallax
There are five viewpoints for lenticular images:
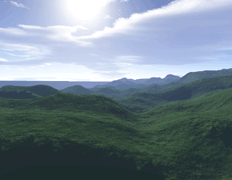
Fig. 12. Five viewpoints for lenticular images (animation)
You cannot convert any flat picture into a three-dimensional one in the same way easy and quickly. The images of the other type require serious work for the depth map creating.
If the target image is black, source files are not in correct format or colour mode (perhaps in Indexed Colour). Don't load multilayered TIFF and multilayered PSD.