How to use the program:
Lenticular sheet type
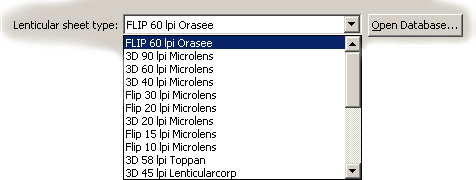
Before the beginning of the work it is necessary to choose the lenticular sheet type. Click Open Database... to open the dialogue Lenticular Sheets Database:
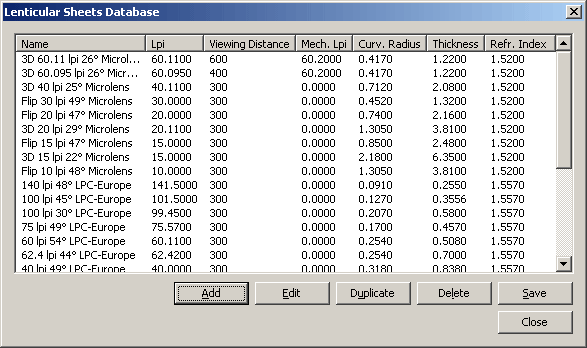
Here you can Add, Edit, Dublicate and Delete the items. Click Save to save your changes into database. Thus you can make Lenticular sheet type database for your goals.
Click Add and Edit to open the Edit dialogue. Here you set the following values:
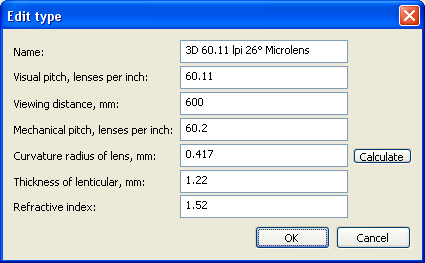
- Visual pitch, lenses per inch
- Mechanical pitch, lenses per inch
_______________________________________
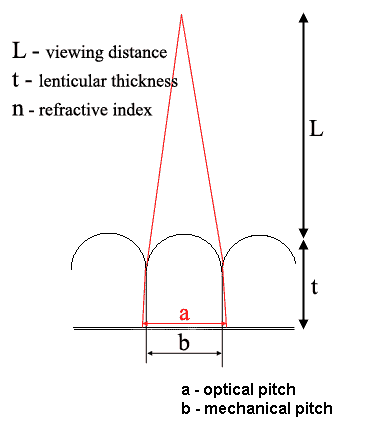
Mechanical/Physical/Normal Pitch is signed as b.
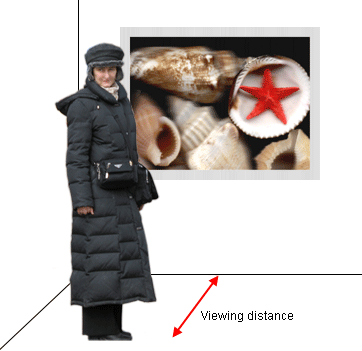
Visual/Optical Pitch is signed as a. Mechanical pitch is less than Optical Pitch. Mechanical Pitch does not depend on viewing distance. Optical Pitch depends on viewing distance:
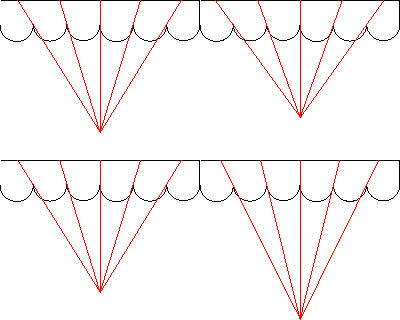
 How measure the visual pitch? Put the printed pitch test sheet under the lenticular screen. You can see the similar picture:

The frequency of the strip which is the most continuous is close to the lenticular sheet frequency. Look at the pitch test image at the necessary viewing distance. It's very important - the visual pitch depends on viewing distance!
 How measure the mechanical pitch? Put the lenticular sheet upside-down. Use the side lighting. Take the comparator (or magnifying glass) and look at the shift between the pitch period and the lens period. Choose the strip without any shift between the pitch period and the lens period.
Wherefore measure we the mechanical pitch? To make the Nesting of the pictures correctly:
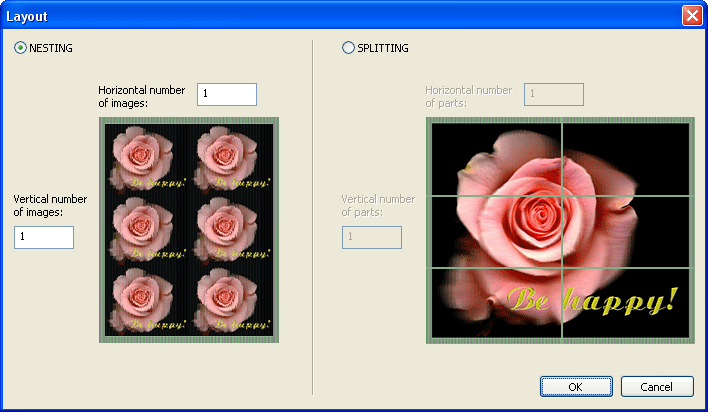
To make the maket correctly, the center of images must be merged with the mechanical pitch. Look at the figure: the arrangement of a wide image differs from the arrangement of three narrow images on the same lenticular sheet:

Lenticular sheet database contains the visual and mechanical pitch. If mechanical pitch is not defined in database (is equal to zero), it will be calculated on basis of other lenticular sheet parameters.
_______________________________________
Lenticular pitch depends on the printer model, therefore we must measure the pitch for every print machine. Visual lenticular pitch depends on the viewing distance, and so it is desirable to measure the viewing distance too. After that open the necessary item in the database and change the Visual pitch, Mechanical pitch and Viewing distance values. Write these values in your database and save:
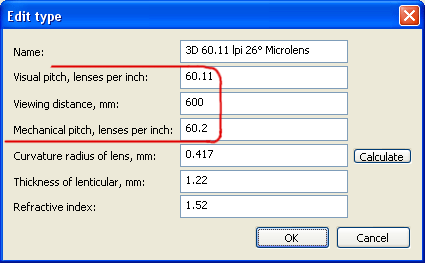
- Viewing distance, mm is very important value for Parallax correction and mechanical pitch calculation (in case the mechanical pitch is not defined in database).
- Curvature radius of lenticular, mm - you can calculate it, click the button Calculate.
- Thickness of lenticular, mm is the feature of lenticular sheet, you can find it in technical specification.
- Refractive index of lenticular - refractive index of substrate, of which the lenses are constructed. The refractive index is between 1,52 and 1,65. By default this value is equal 1.57. You don't need to set this value with high precision.
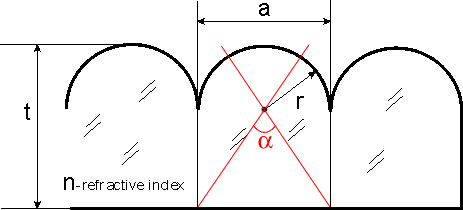
Optical characteristics of lenticular: a - period of lenticular, t - thickness of lenticular, r - curvature radius of lenticular, n - refractive index of lenticular, α - viewing angle of lenticular
Most of lenticular sheets are named as 3D Lenses or Flip Lenses. What it means?
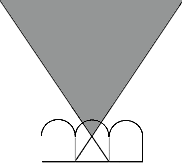
The area of view is V-zone and define the viewing angle of lens - α:
The view area of lenticular sheet
This angle changes from 24 degrees upto 60 degrees. It's impossible to make the usual lenticular sheet with viewing angle more than 60 degrees. (It's limitation of polymer refractive index - 1.6. Maximal viewing angle of crystal lenticular sheet may be 90 degrees. Crystal refractive index is about 2.)
3D Lenses have 24-30 degrees viewing angle. Flip Lenses have 45-60 degrees viewing angle.
3D lenses create more depth stereo image than Flip lenses for the same interlaced image. 3D lenses create the more quick flip image than Flip lenses.
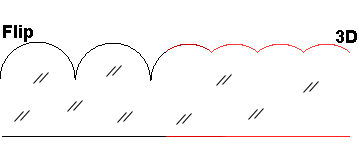
3D Lenses and Flip Lenses have different cross-section profile. Look at figure from below:
3D and Flip lenses
